
If you're not familiar with Magritte's work, he's a surrealist that rendered people and objects sharply - but arranged his images in unexpected ways. You've probably seen the man with an apple or dove in front of his face.

When I think Magritte, immediately blue skies with white clouds spring to mind. That's the backdrop in many of his surrealist scenes. I thought I could paint a sky like that, then have the kids découpage on images that the artist liked to use.
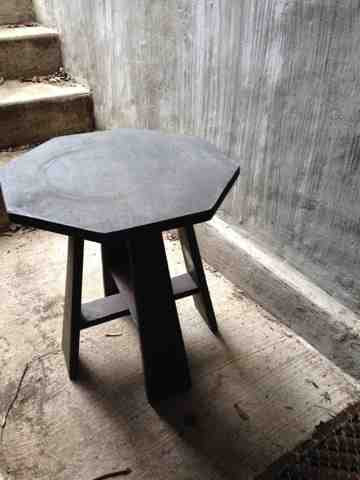
We reached out to other parents and received two donated pieces of furniture. My co-teacher hit thrift shops and found a little side table that could work. She also printed lots of images and painstakingly cut out their shapes so they were ready to be applied.

Tip: magazines usually have print on both sides, which can bleed through. We googled images and used a laser printer. Don't use an inkjet because that just sprays ink onto the page, which will bleed if it gets wet - which is necessary for découpage.
I painted the donated items with chalk paint (leftover from the mud room wall project, covered in an earlier post). Because that type of paint goes on fast, does not require primer, and doesn't generate fumes, I could take care of this step inside on a cold winter day while my kids napped (or pretended to). Now I had the basic blue background for the sky.

Next I started with the smaller table, adding clouds. It took much longer than I thought it would; I was adding other blues into the sky and fussing around a bit. The larger piece, the desk, was still waiting for its clouds - and suddenly this seemed like a daunting task. I had to simplify. 
Using a gel medium, I thinned out the white paint and started on the desk. I got the shapes of clouds in, and they were smeary... but as each layer of paint dried I could come back in and brighten areas with white. That gave the low-lights and brighter areas I wanted, all with just white paint, so the background did not need to be touched again.

I repeated this on the round tabletop that was found at a thrift store. The strange thing about that was, it's 3 legs were slightly different lengths. That, or the hardware they screwed into was faulty. Ether way, the other mother and I tried sawing them, to no avail. So I thought - lazy susan! They are round and just require the spinning turntable. A quick search on Amazon yielded an inexpensive but decently rated option. When it was delivered, I used Liquid Nails to adhere it. The top was particle board so I was a bit nervous, but it seemed to hold on tight.
Now the furniture was ready for the kids. The other mom and I met at school, taught the first graders a little about Magritte, then lined them up. Each chose an image, grabbed a sponge brush, and swabbed an area with mod podge. We helped them smooth the printouts and clean up extra dribbles and blobs. As creative as kids are, most mimicked the person before them, so we had several clusters of the same image. After each first grader got at least two tries at attaching images onto the furniture, we called it a day. It looked a little messy but we knew the mod podge would dry clear.

When I got home I attached a few more images to break up some of the monotony. You can only have so many green apples in a row and keep the composition interesting!

Next I pulled out the spar urethane. I swabbed his on with extra foam brushes, starting with areas that were somewhat out of sight, just in case something unexpected happened. Good thing - something unexpected did happen. Some of the images were getting a "soaked" look on the edges - something that hadn't happened with the mod podge. I guess the extra chemicals in the varnish were seeping in and impacting the paper or printed color.

Tip: go back over all of the decoupaged images with mod podge, making sure each edge is covered so no moisture can seep in later. In the butterfly image above, note how there is a rim of white mod podge caught on each edge - that's what you want.
After that, the varnish went on seamlessly. The pieces were ready to go. Now I have to wait and see if they fetch anything at the auction.

This was a pretty easy project. Tedious at times, but not difficult. Minimal supplies are required. Try it yourself!